- If you download this document, you will be lost 0 Beer
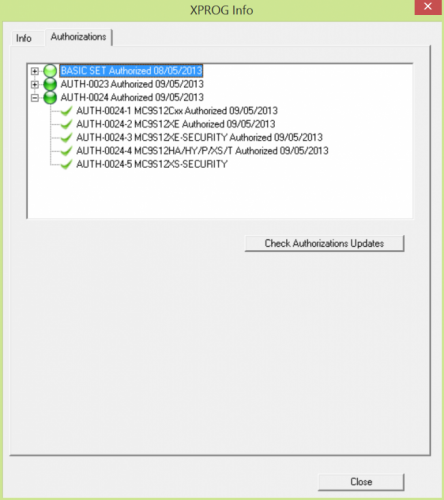
Requested by a few users, here is the xprogdestop version 5.5.1 with atmega flash and eeprom.
To use this software, adobe flash reader 10 or higher must be installed.
Here are the steps:
1. You do not need to remove the ATMEGA64A MCU or any pin from Xprog.
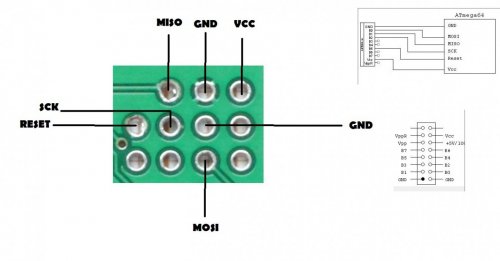
2. Make sure your connection from TL866 to XProg are correct. TL866 has only 1 ground output so you need to make sure you split the ground connection toXProg.
3. Once you've verify the connections are correct. Here the most important step. Make sure you supply Xprog with a 12V dc. If you don't do this, it will not work.
4. Open MiniPro program and set the "Interface " to ICSP port and make sure ICSP VCC enable is check.
5. Select ATMEGA64A @TQFP64
6. Click on Check ID icon, it should show you the chip ID, mine read "1E 96 02". If no Id are shown, recheck your connections.
7. If it successfully read the chip ID than proceed to the next step. We are now ready to program the ATMEGA64A
8. Click on "Code Memo" ===>File open ==> select the flash file Mr. Luis provide. After you select the Flash file, a next screen will pop up. Just make sure that "Code Memory" is selected. Now click ok.
9. Click on "Data Memo" ===>File open ==> select the eep file Mr. Luis provide. After you select the eep file, a next screen will pop up. Just make sure that "Data Memory" is selected. Now click ok.
10. Click on "Config" check only the following items:
"Fuse Low Byte" BOOLEVEL=0, BODEN=0, SUT0=0
"Fuse High Byte" SPIEN=0, CKOPT=0, BOOTSZ1=0, BOOTRST=0
"Extended Fuse Byte" None
"Lock Bit Byte" LB2=0, LB1=0
11. First Erase the chip
12. Than click on Program
13. If all goes well, you should see successful at end of the programming state.
14. Now disconnect TL866 and the 12V power supply from Xprog.
15. Open Xprog 5.5.1 program provided by Mr. Luis
16. Make sure you select the correct USB COM port under Option ==>Enviroment.
17. Click on Update
18. Once the update is complete, you should see a successful message at the end.
19. Done!
Not tested by me, but some members does. Use with own risk!
Attachments
Last edited by a moderator:


